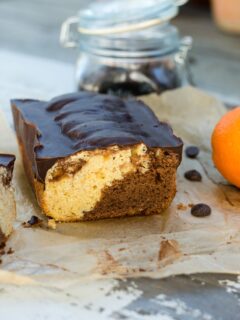
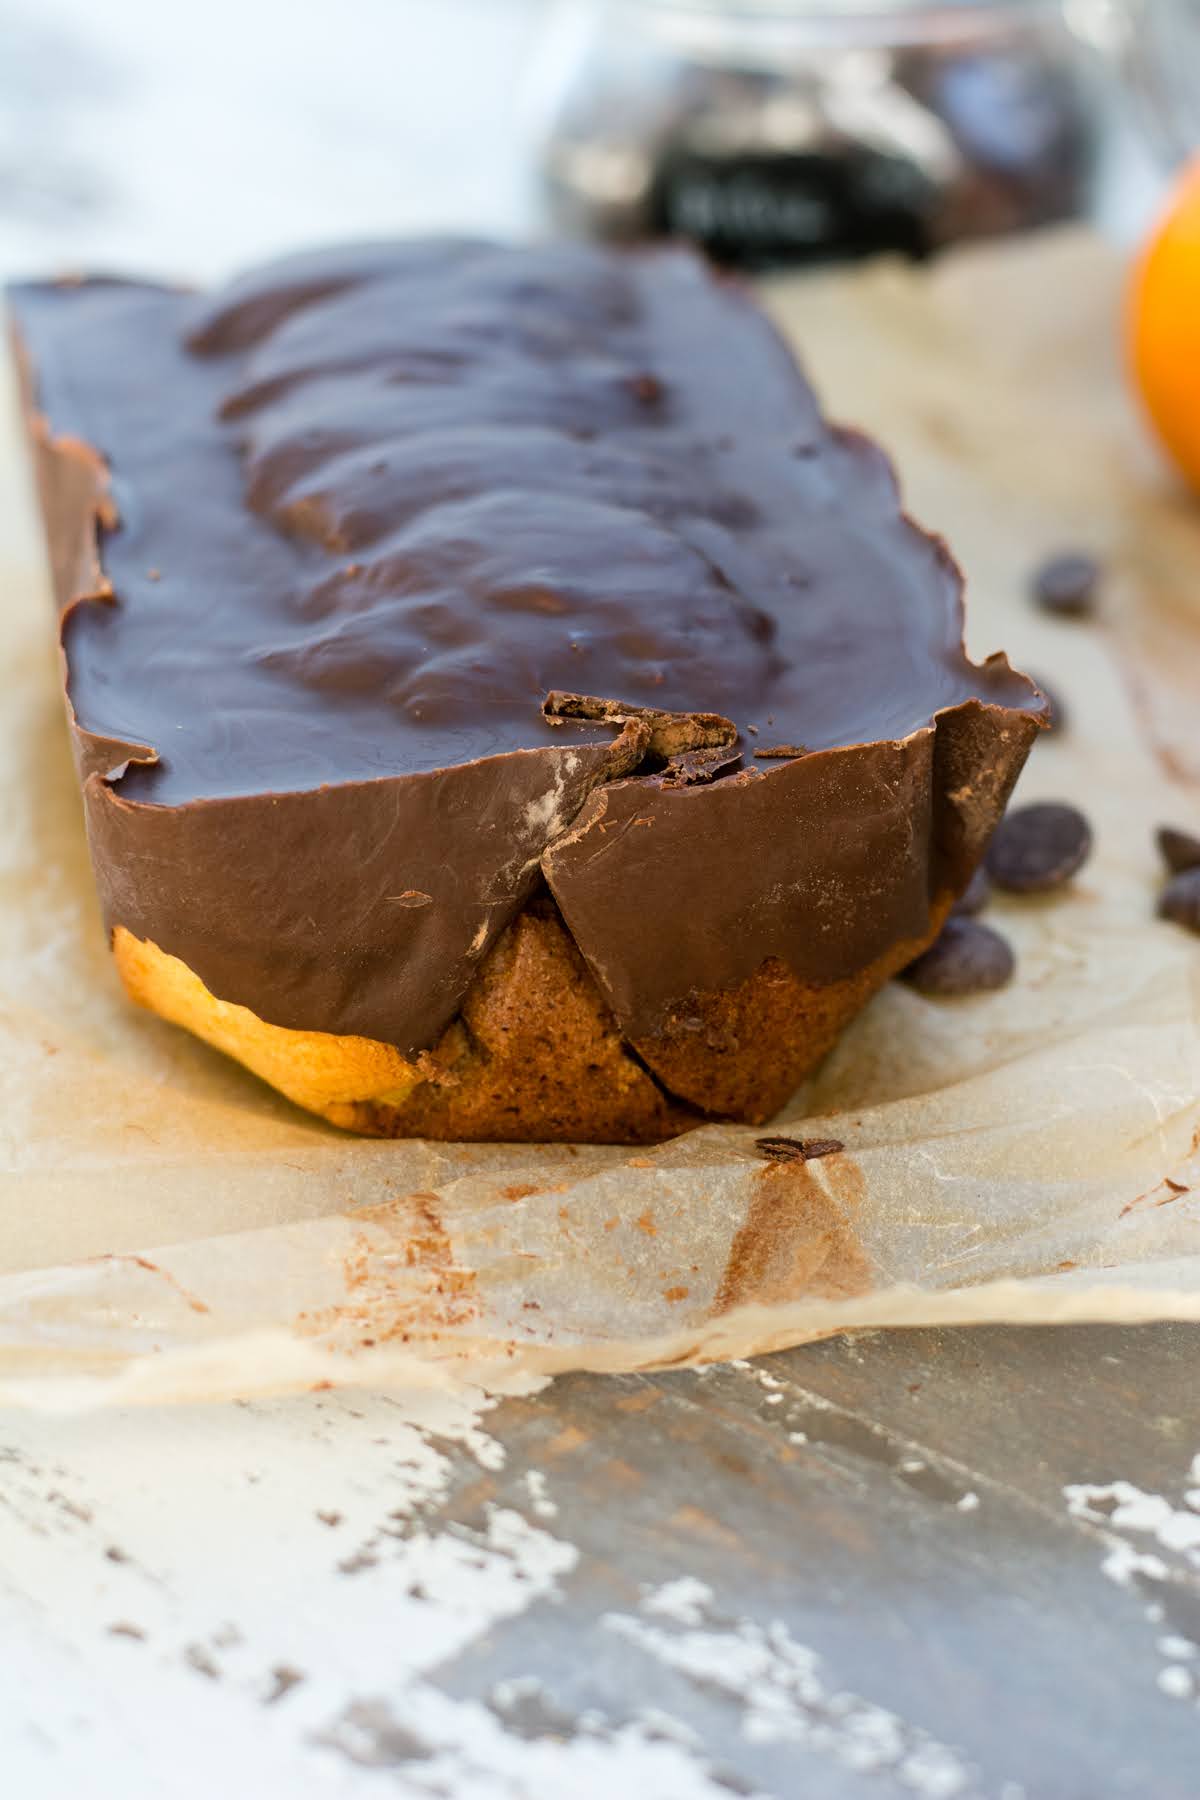
Gluten Free Chocolate Orange Marble Cake might just be your new favorite dessert! Basic chocolate loaf cake gets a major upgrade in this gluten-free dessert recipe with real oranges and bittersweet chocolate chips.
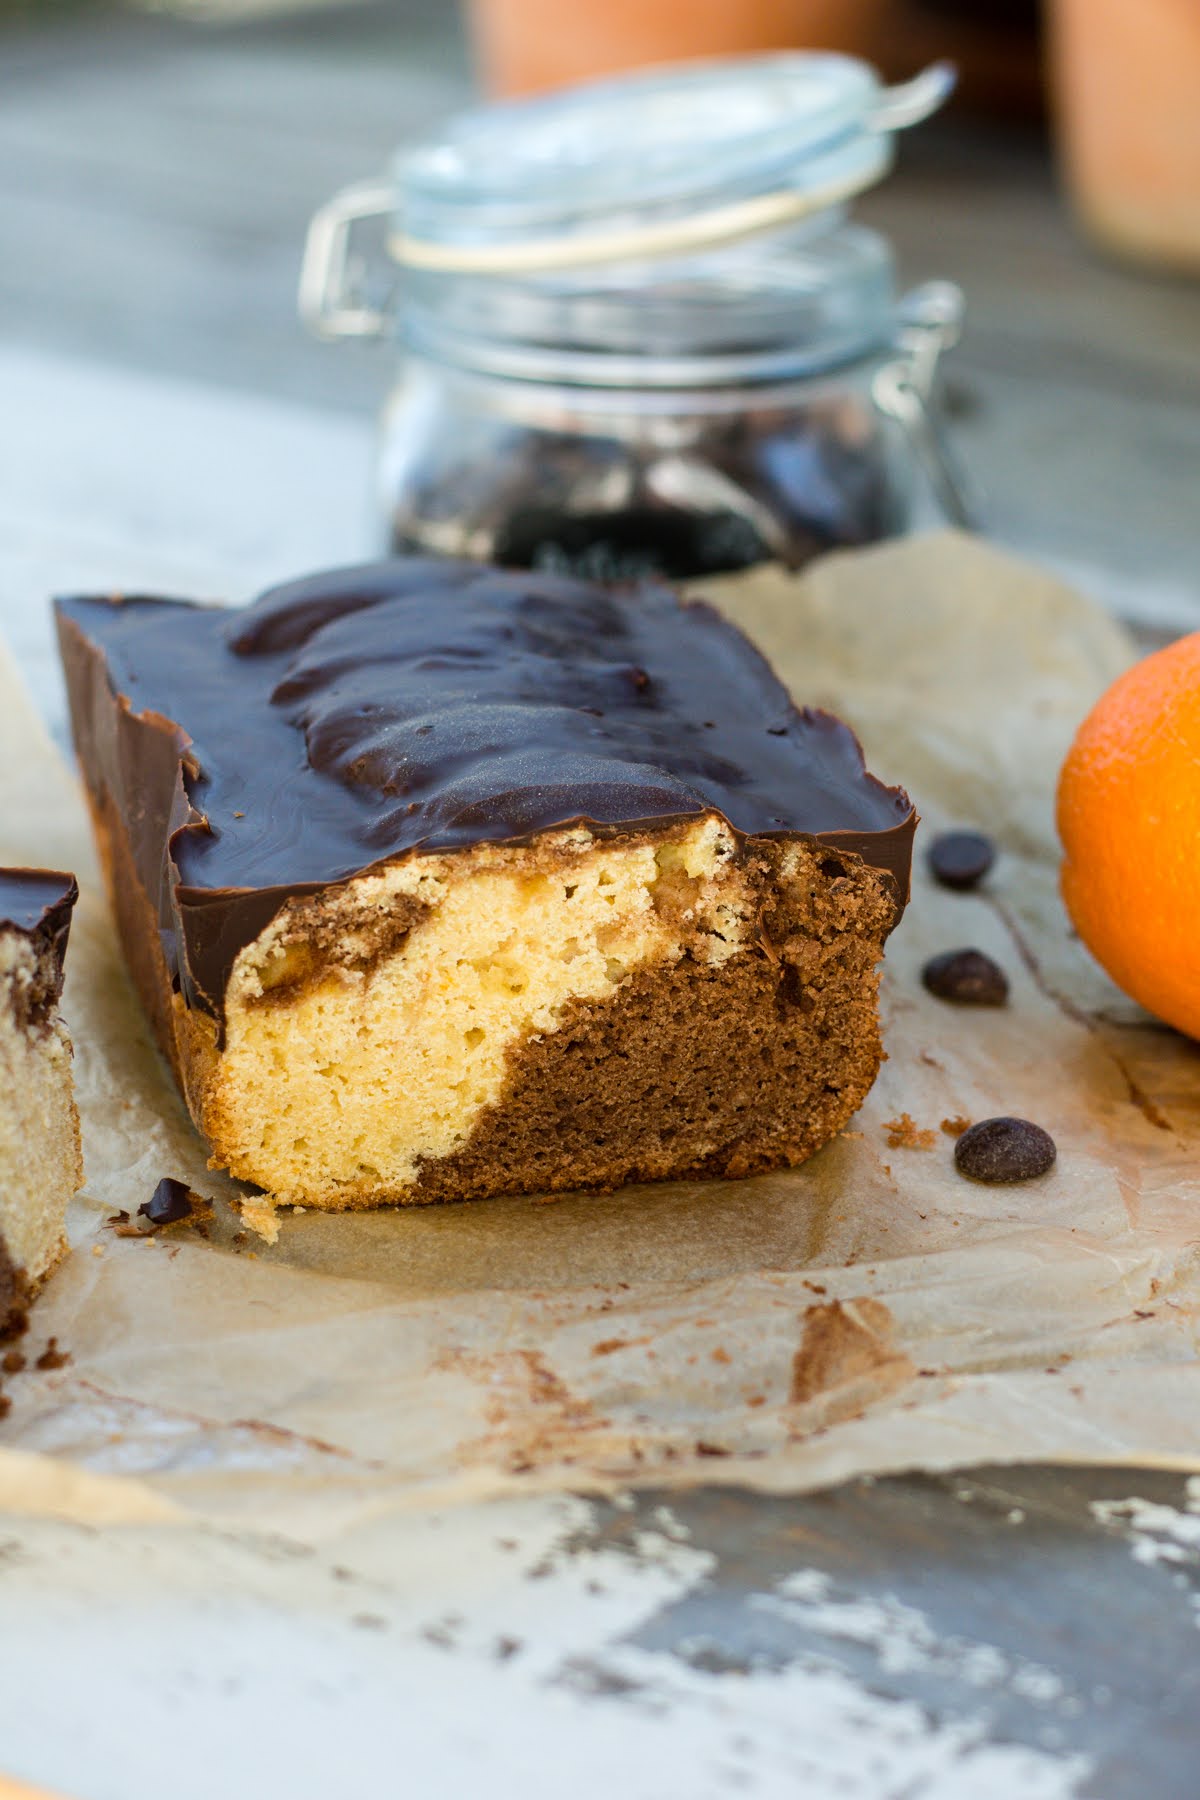
A Decadent Marble Cake with Chocolate Ganache and Real Orange Flavor
As you guys know, I like my sweets – especially things with a good dose of quality chocolate. A healthy diet should include all (well, almost all) things in moderation, right? This from-scratch loaf cake is one of those healthy desserts that’s both to die for, and good for you.
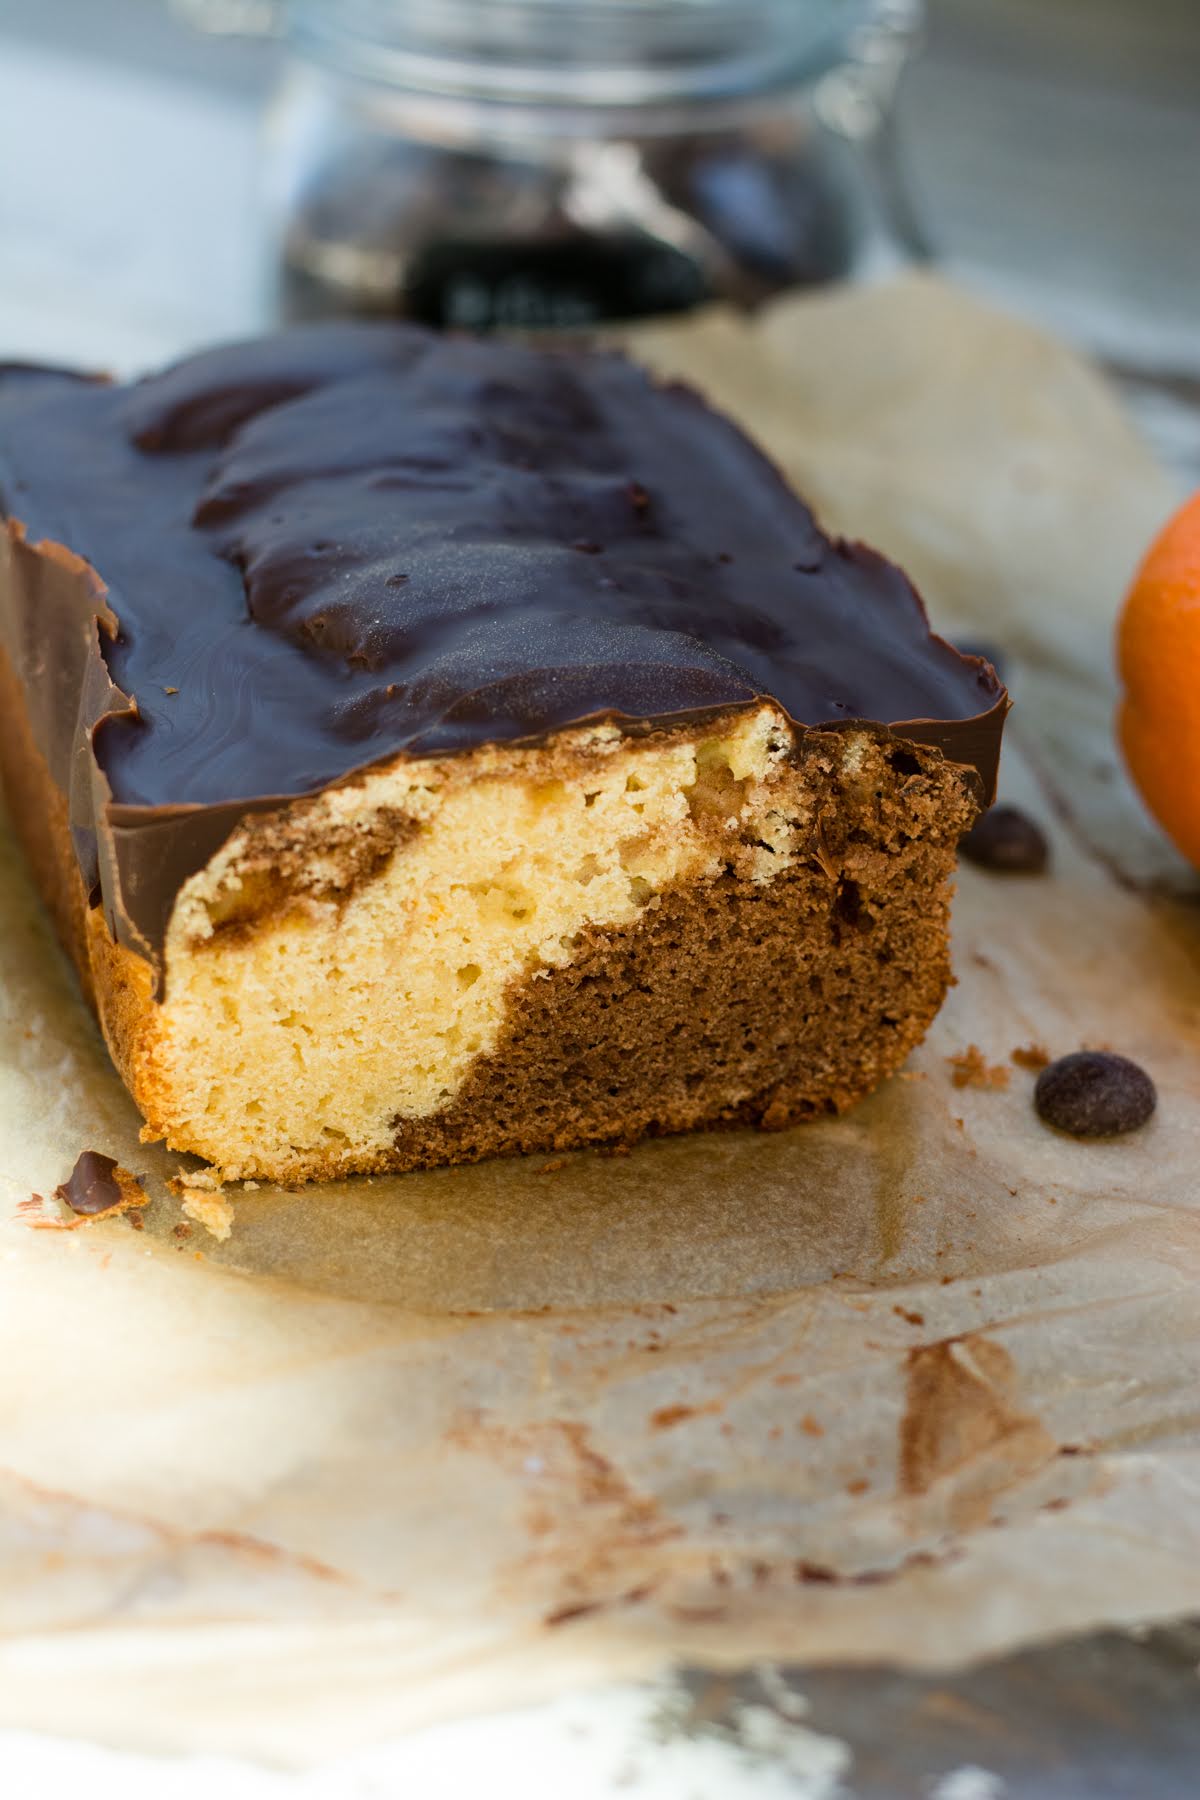
The secret is in the chocolate orange combination. Seriously, if you want to impress your guests, serve this! It’s a basic loaf cake, but those flavors have a luxurious feel to them that truly elevates this from “good” to “great.”
And, of course, there’s the pretty marbling effect! Marbling a cake is one of those simple baking tricks that seems so special. I like to serve marble cake for the holidays, especially, but you can make it anytime – it’s incredibly easy to do.
Why You’ll Love This Cake
There are so many reasons to love this dessert. Here are just a few, for starters – if you make it and have something to add, be sure to drop it in the comments!
- Easy: This is a very easy dessert to make. You don’t need a stand mixer or any special technique!
- Pretty: Everyone loves the look of a marble cake. It’s such a pretty dessert to serve, whether for a casual snack or a party.
- Chocolate Orange! This winning combo is underappreciated, in my book. Chocolate orange sweets and desserts are amazing, and this cake is no exception.
- Gluten Free: Gluten free baking has come a long way, and if you try this cake, the smooth, perfect texture will make you a believer. If you’re gluten sensitive or intolerant, you should totally try this cake recipe!

The Ingredients
To make this pretty, deeply flavorful cake, you’ll need some basic baking items, a few oranges, some bittersweet chocolate chips, and some maple syrup for sweetening. Here’s the list in more detail. (Remember to scroll to the bottom of the post for the full recipe card!)
- Gluten Free Flour: It’s important to use a good quality 1:1 gluten free flour, for the best flavor and texture.
- Almond Flour: Added almond flour gives the marble cake a decadent richness. Make sure to use flour, not meal.
- Baking Powder: Baking powder helps the cake to rise, but be sure you don’t accidentally grab baking soda by mistake! It can help with rising in some recipes, but it would overpower this one.
- Salt: Kosher salt is my go-to, but any salt is fine.
- Egg: An egg helps give the batter some structure, so the cake doesn’t fall apart.
- Orange Juice and Zest: Juice two or three oranges, and zest one of them as well.
- Maple Syrup: Pure maple syrup. You can also use sugar or your favorite 1:1 sugar substitute.
- Butter: Unsalted butter, softened to room temperature.
- Cocoa Powder: You can use natural cocoa, Dutch process, or raw. Sift the cocoa to remove any lumps.
- Milk: I use whatever nut milk I have on hand at the moment.
- Chocolate Chips and Coconut Oil: For the ganache. Bittersweet chocolate chips are my go-to. You can use either refined or unrefined coconut oil, but remember that the unrefined will have a coconut taste to it.
What Is Gluten Free Flour Made From?
Gluten free flour can be made of all kinds of alternative flours: millet, rice, oats, corn, you name it. Each brand will have a slightly different blend. You can also make your own blends. Whichever you choose, be sure to go with one that’s marked “1:1” which means you can use it successfully instead of regular flour for baking.
How Do I Make Gluten Free Chocolate Orange Marble Cake?
Making a marble cake is a lot like making regular cake, with one important difference: tinting an swirling the batter. Don’t worry though – it’s so simple. Here’s how to do it:
- Prepare to Bake. First, preheat your oven to 350°F. Then get out a loaf pan, and line it with parchment. Or, if you prefer, grease it well, and flour it. Set this aside for now.
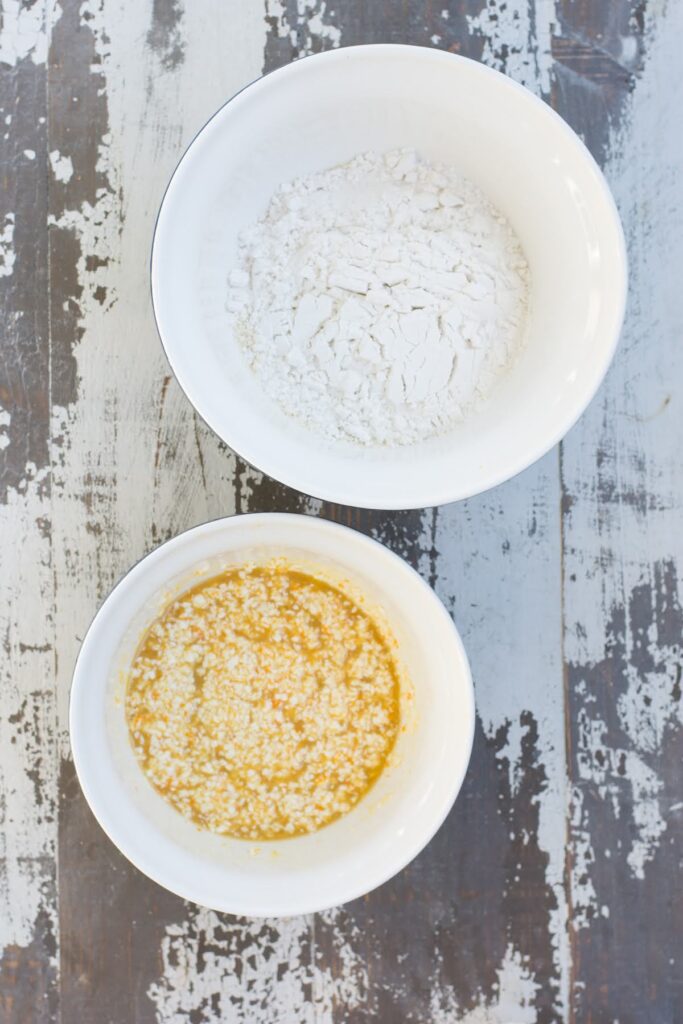
- Mix the Dry Ingredients. In a medium mixing bowl, combine the dry baking ingredients: gluten-free flour, almond flour, baking powder, and salt. Stir these to combine them, and then set them aside as well.
- Mix the Wet Ingredients. In a larger mixing bowl, use a hand mixer or a whisk to beat the butter, maple syrup, orange juice, zest, and egg.
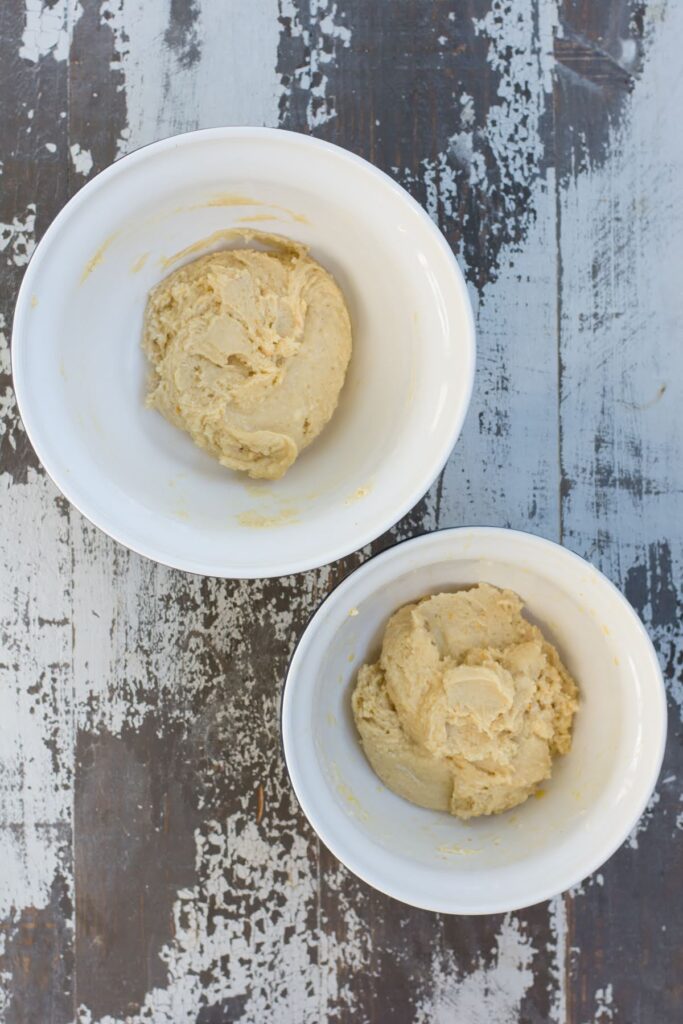
- Combine Both Mixtures. Add the dry mixture to the wet mixture in the large bowl, and beat the two together to make a smooth batter.
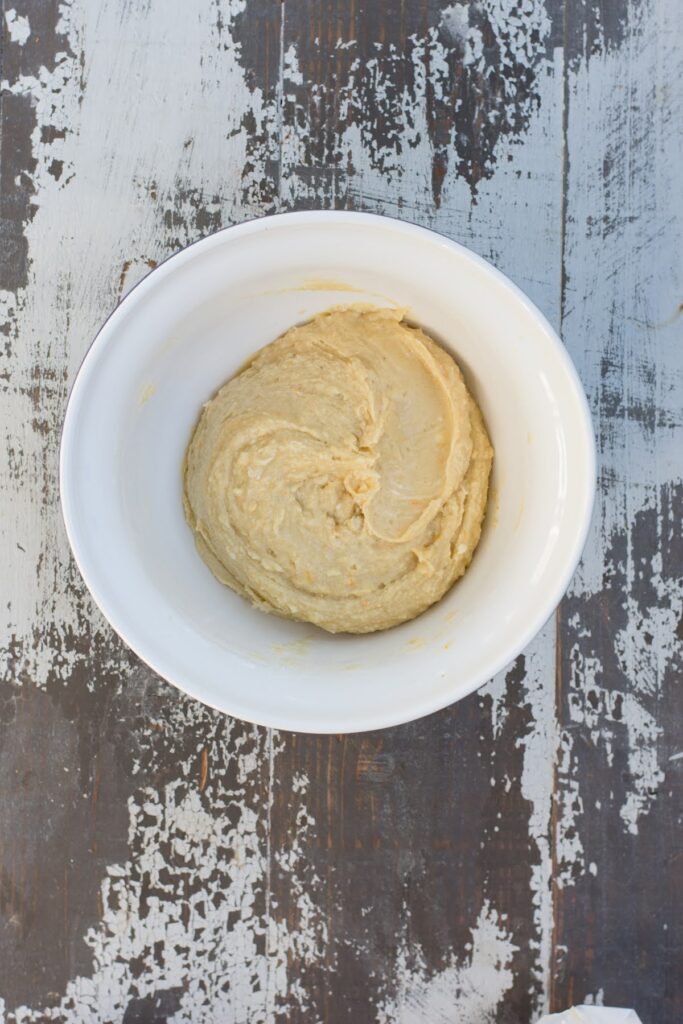
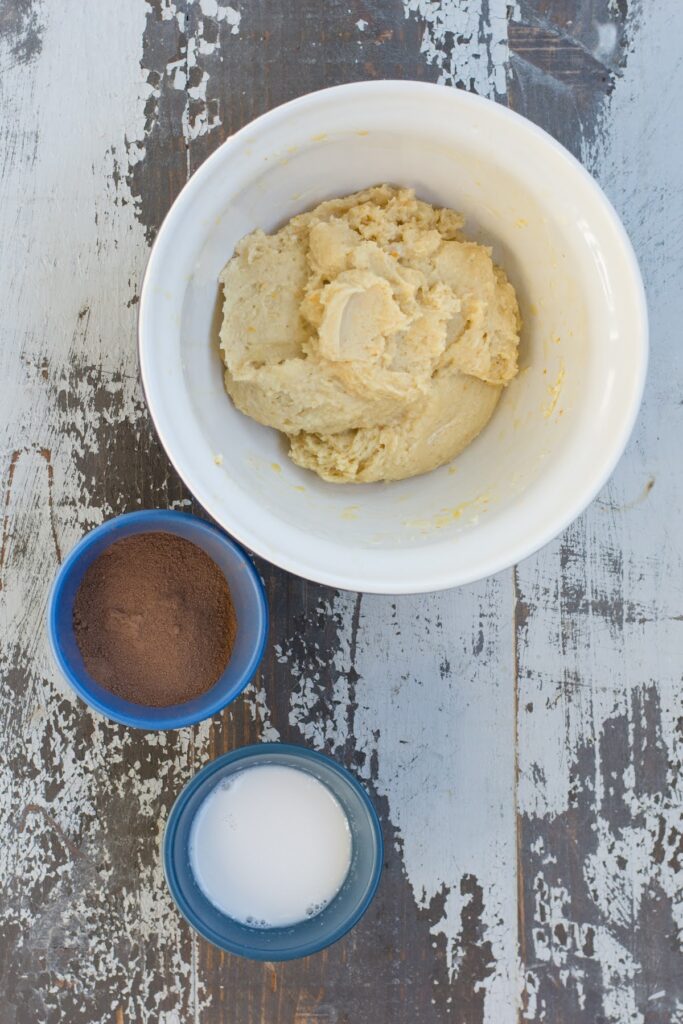
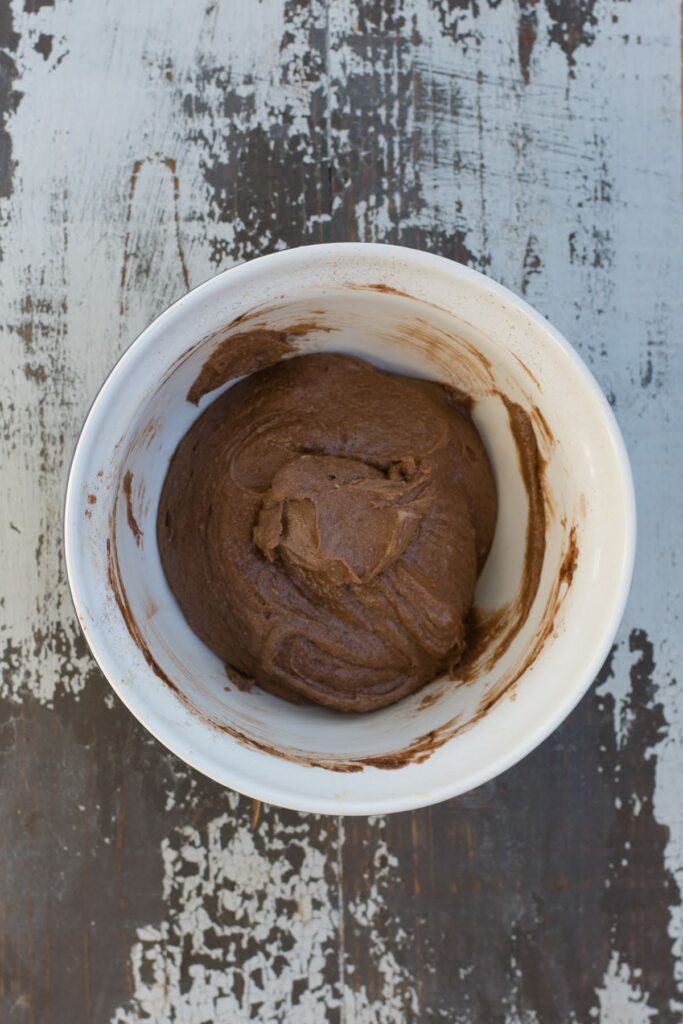
- Flavor Half of the Batter with Cocoa Powder. Take the empty bowl that the flour mixture was in, and add the cocoa powder and milk. Blend until smooth. Then take half of the cake batter and add it to this cocoa mixture, blending to make a smooth chocolate batter.
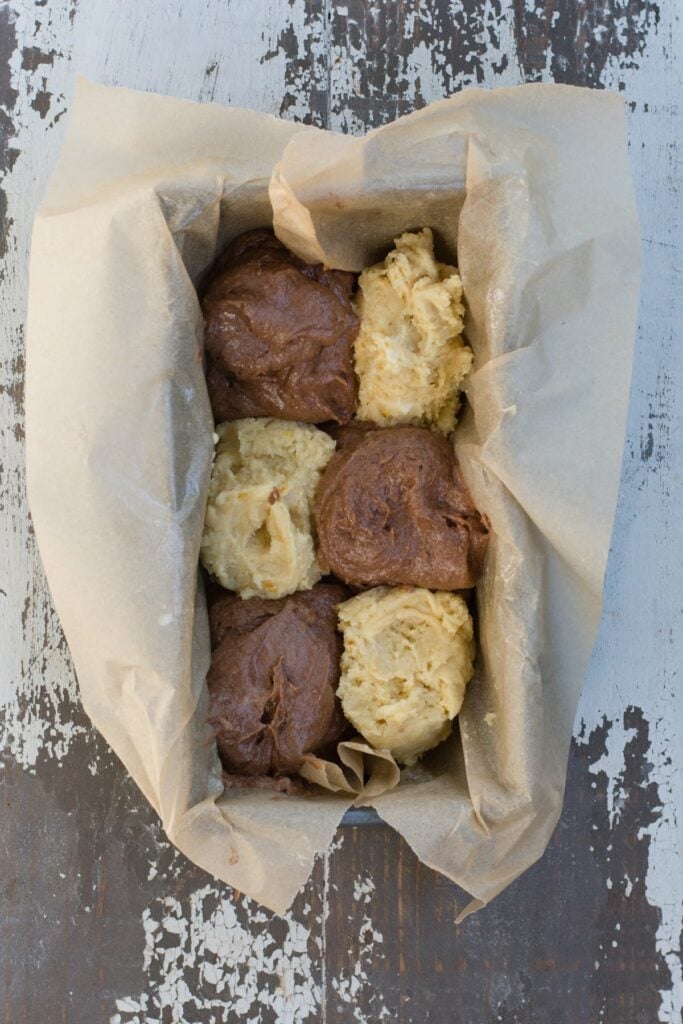
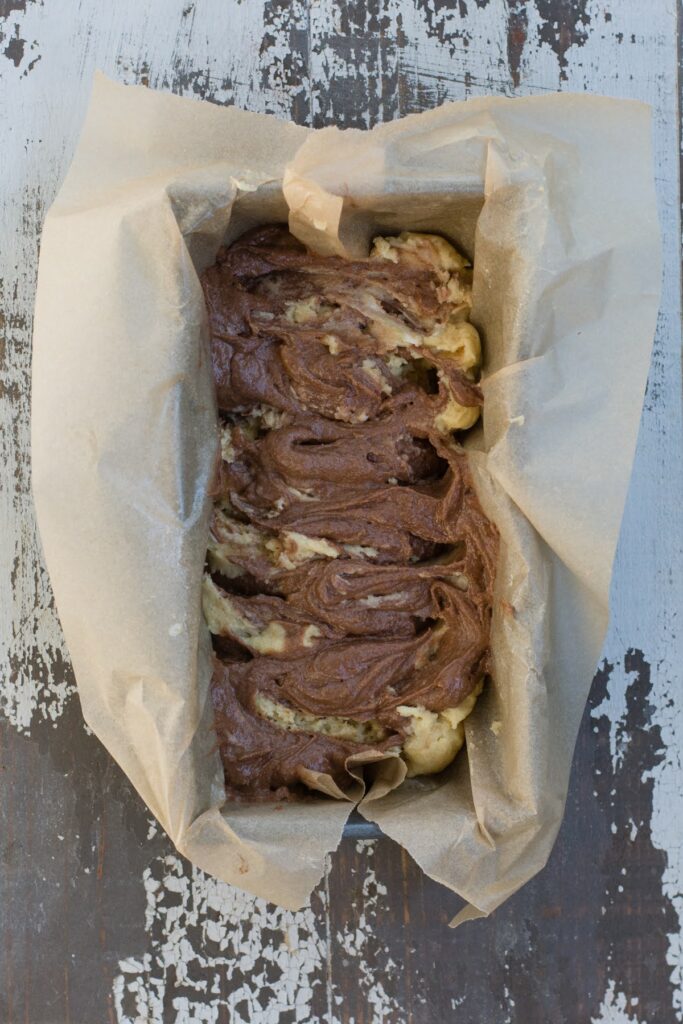
- Fill the Loaf Pan. Spoon alternate dollops of the batters into your prepared loaf pan, as shown in the picture. It should look sort of like a checkerboard made of cake batter.
- Create the Marble Look. Then use a skewer or a butter knife (careful not to scratch the pan!) to create a marble pattern. Drag the skewer through the mixture in swirls, but make sure you don’t overmix, or you won’t see the pattern. Smooth the surface if necessary.
- Bake! Bake the cake for 45 – 55 minutes, or until golden and risen. You’ll know the cake is fully baked when a skewer poked in the center comes out clean.
- Cool. Leave the cake in the pan to cool.
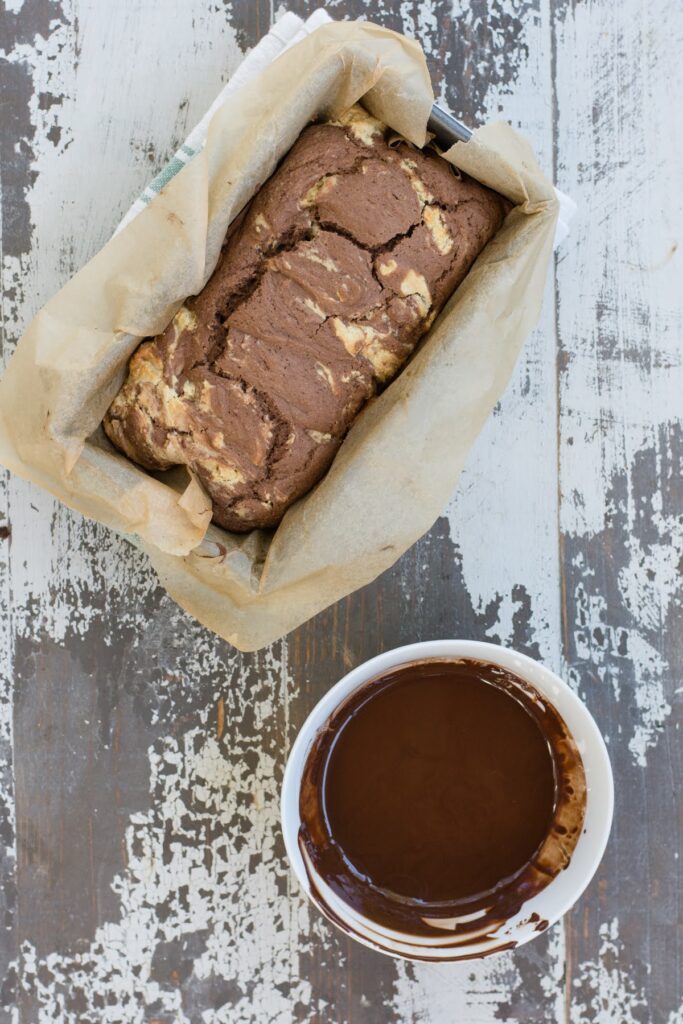
- Make the Ganache. Once the cake is cool, make the ganache. You can do this in a double boiler, or just melt the chocolate and coconut in the microwave for 30 seconds, stirring and cooking an additional 30 seconds, as needed to melt the chocolate completely. Don’t overcook, or the chocolate will become grainy. The stirring does a lot of the melting work for you.
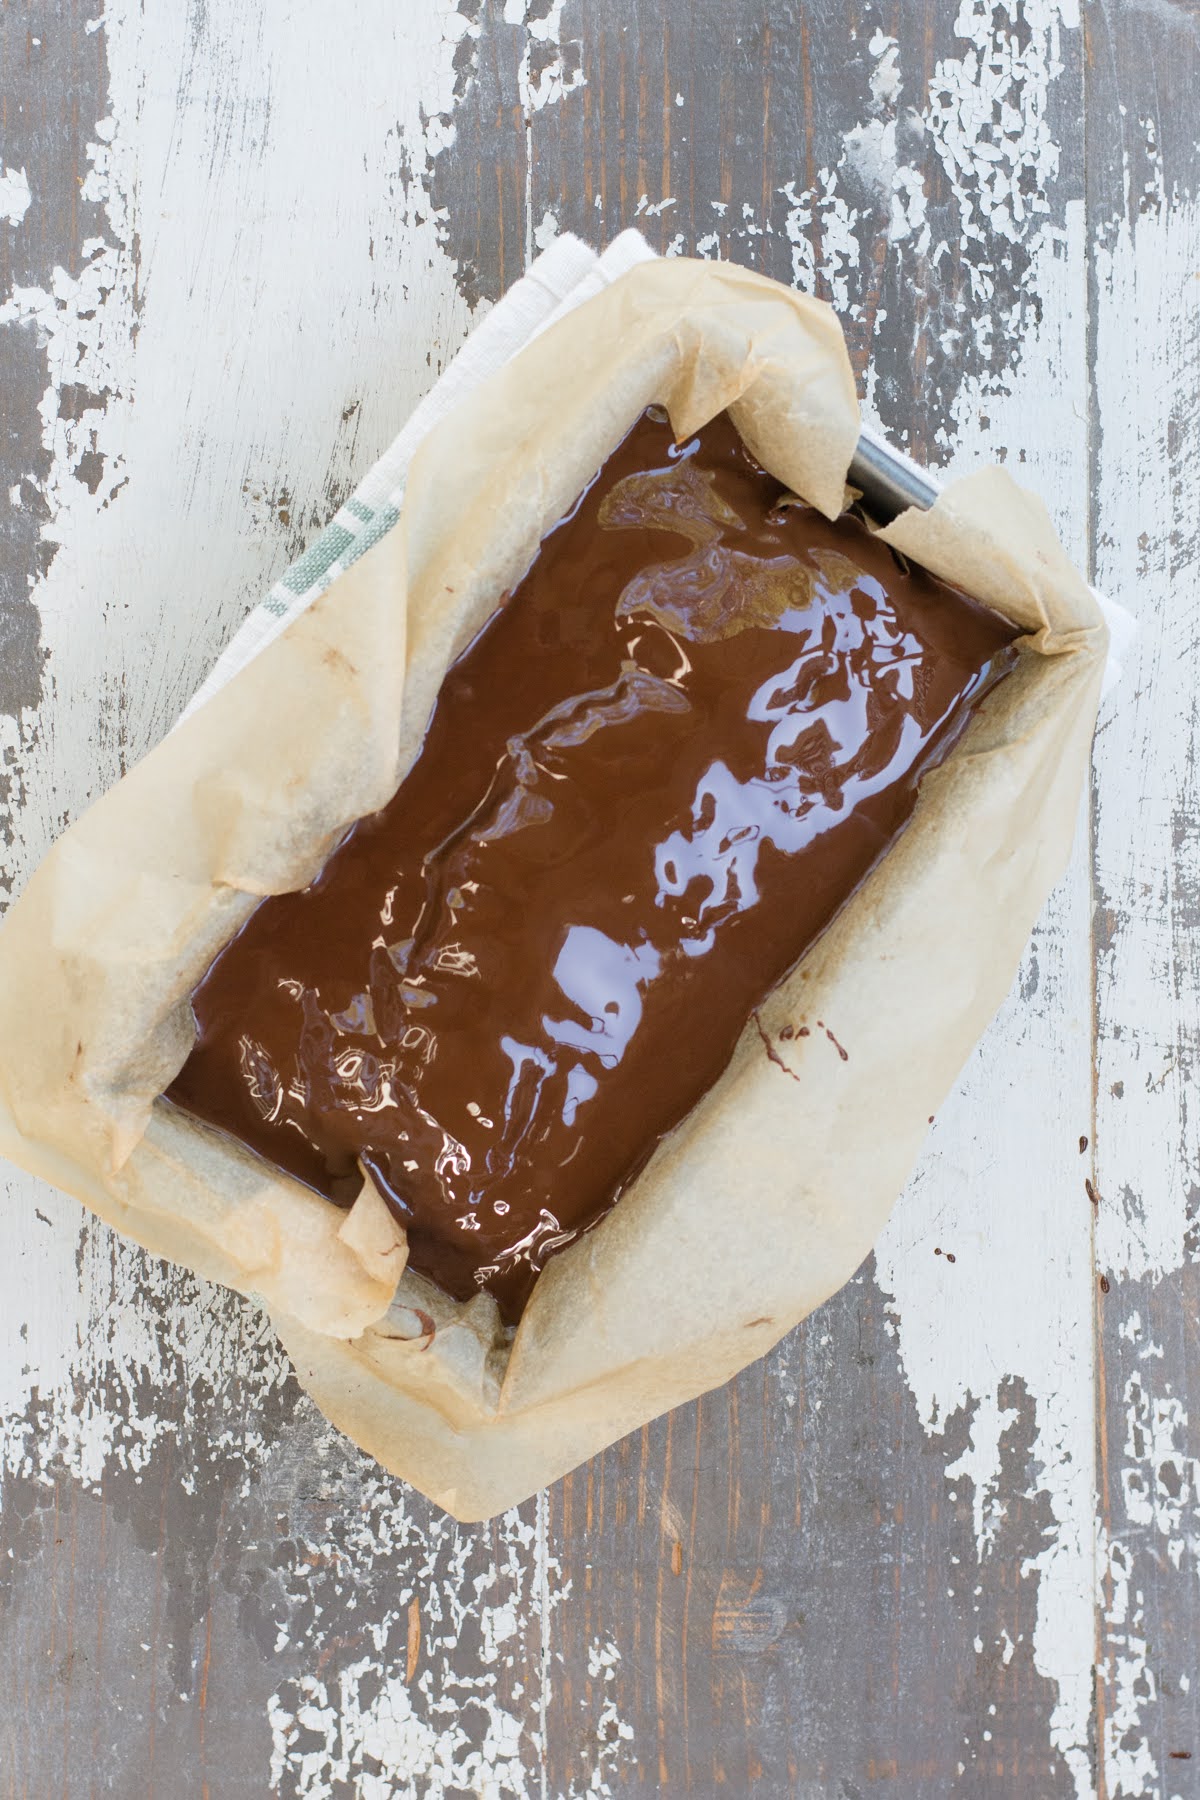
- Top the Cake, Cool, and Enjoy! Slowly pour chocolate over the cooled cake. Refrigerate until the chocolate has set, and then serve the sliced cake.
Helpful Baking Tips
I hope you’re inspired to try this gorgeous cake! It’s so good, and so simple. If you do, be sure to check out these helpful tips for baking success.
- The Right Flour: We already discussed this, but it bears repeating- gluten free flours aren’t all created equal, so be sure to use a 1:1 gluten free flour for this recipe. That will help ensure a good rise, taste, and texture.
- The Right Almond Flour: Use almond flour rather than almond meal for a fine, cakey texture. Almond meal will have a more crumbly, grainy texture.
- Making the Pattern: Once you start to see the marble effect, it can be tempting to keep going and make it more and more detailed. But if you go too far, you’ll just end up mixing the two batters into one! To make sure you can really see the marbling, don’t over- or under-mix.
- Ganache vs. Frosting: Swap plain chocolate frosting for the ganache if you prefer. If you do this, be sure to wait until the cake is cool before adding the frosting.
How to Store Gluten Free Chocolate Orange Marble Cake
Store this cake in an airtight container at room temperature for 1 – 2 days, or in your refrigerator, for up to 5 days. The chocolate will be softer if stored at room temperature, so keep that in mind!
Can I Freeze This Cake?
Definitely! Once the cake has cooled completely, wrap it tightly in a couple of layers of foil or plastic wrap. Then mark it with the date, and freeze it for up to three months. Thaw before Serving.

Gluten Free Chocolate Orange Loaf Cake
Ingredients
- 1 1/3 cup gluten free flour
- ½ cup almond flour
- 2 teaspoons baking powder
- ¼ teaspoon kosher salt
- 1 egg
- Zest from one orange
- ½ cup orange juice freshly squeezed from 2-3 oranges
- ½ cup pure maple syrup
- ¼ cup unsalted butter softened
- ¼ cup cocoa powder sifted
- 3 tablespoons nut milk
- ¾ cup of bittersweet chocolate chips
- 1 tablespoon coconut oil
Instructions
- Preheat the oven to 350°
- Line a loaf pan with parchment paper or grease and flour pan.
- In a medium bowl mix flour, almond flour, baking powder and salt together, set aside.
- In a large bowl, beat butter, maple syrup, orange juice, orange zest and egg together until blended.
- Add flour mix into butter mix and beat until it blends together.
- Add cocoa powder and milk into the empty bowl and blend until smooth.
- Split the batter mixture evenly adding half of the batter into the bowl with the cocoa mixture. Stir to blend until mixed evenly.
- Spoon alternate dollops of the mixture into the loaf pan, then use a skewer to create a marble pattern by dragging it through the mixture in swirls. Make sure you don’t overmix or you won’t see the pattern. Smooth the surface if necessary.
- Bake the cake for 45 – 55 mins until golden and risen, and a skewer poked in center comes out clean.
- Leave the cake in the pan to cool.
- Melt the chocolate and coconut in the microwave for 30 seconds, stirring and cooking an additional 30 seconds, stirring chocolate until melted completely. Cook for additional time if needed.
- Slowly pour chocolate over the cooled cake. Refrigerate until the chocolate has set.
- Slice and enjoy.
Notes
- Storage: Store this cake in an airtight container at room temperature for 1 – 2 days, or in your refrigerator, for up to 5 days. The chocolate will be soft if stored at room temperature, so keep that in mind!
- The Right Flour: We already discussed this, but it bears repeating- gluten free flours aren’t all created equal, so be sure to use a 1:1 gluten free flour for this recipe. That will help ensure a good rise, taste, and texture.
- The Right Almond Flour: Use almond flour rather than almond meal for a fine, cakey texture. Almond meal will have a more crumbly, grainy texture.
- Making the Pattern: Once you start to see the marble effect, it can be tempting to keep going and make it more and more detailed. But if you go too far, you’ll just end up mixing the two batters into one! To make sure you can really see the marbling, don’t over- or under-mix.
- Ganache vs. Frosting: Swap plain chocolate frosting for the ganache if you prefer. If you do this, be sure to wait until the cake is cool before adding the frosting.

