July Gardening; Gladiolus, Garden Phlox and Blue Maran Chickens, learn a bit about each.
My Day Lilies have finished blooming. I wrote an article last year about how Kindness Made me Fall in Love with the Daylily, I would be honored if you took the time to pop over and read my post, you can find it here.
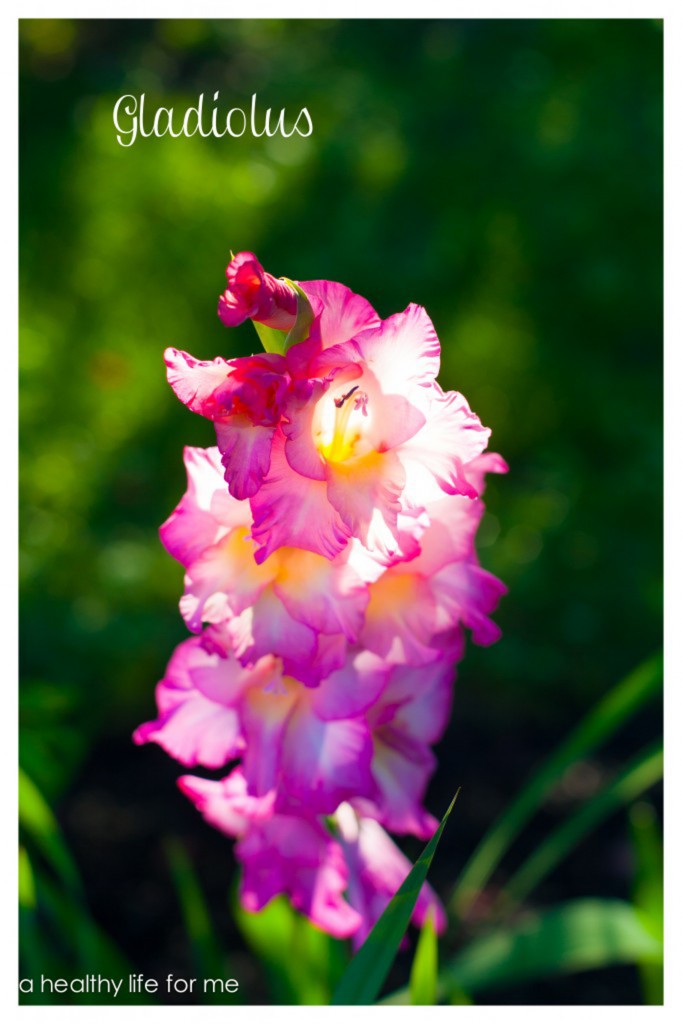
Right now my garden is laden with Gladiolus. Gladiolus are like M&M you can’t resist them and there is a color for everyone. When my garden has only a few perennials in full bloom in July, I can always count on this bulb to show off its tall heads of beauty. Most people recognize the Gladiolus from their appearance in so many bouquets. They make a great cut flower that will last quite awhile in a vase.
They are easy to grow and are generally grouped by flower size into classes from miniature to giant. Ranging from 2 to 6 feet in height, they have very sturdy sword shaped leaves and produce flower spikes with trumpet-shaped florets borne in double rows. They bloom from bottom to the top of the stalk, which is unusual. Remove individual flowers as they fade, and cut back flower stalks once all flowers have gone by. Leave foliage intact to mature and rejuvenate the corm for next year.
They say that if you live in zone 7 and colder you need to dig up your Gladiolus bulbs to ensure they come back the next year. I am in zone 6 and I never dig up my bulbs and they come back doubled every year. I have them growing in full sun and well-drained soil that is sheltered from strong winds. You usually have to give your Gladiolus some sort of support. I use garden stakes and criss-cross garden twine through the stakes at various heights to support the Glads as they grow.
Plant your bulbs in the spring, you can find bulbs in most nursery and hardware stores as well as on-line. Plant the Gladiolus bulbs or corms 4 – 5 inches deep and plant the bulbs 5-6″ apart. I like to plant them in large groupings, 12-20 bulbs together so I get a maximum impact when they bloom. To plant bulbs, dig a trench or hole and pace each bulbs at least 4 inches apart. For large, show-quality flowers, more space is needed. Two to four times the bulb diameter is the spacing rule.
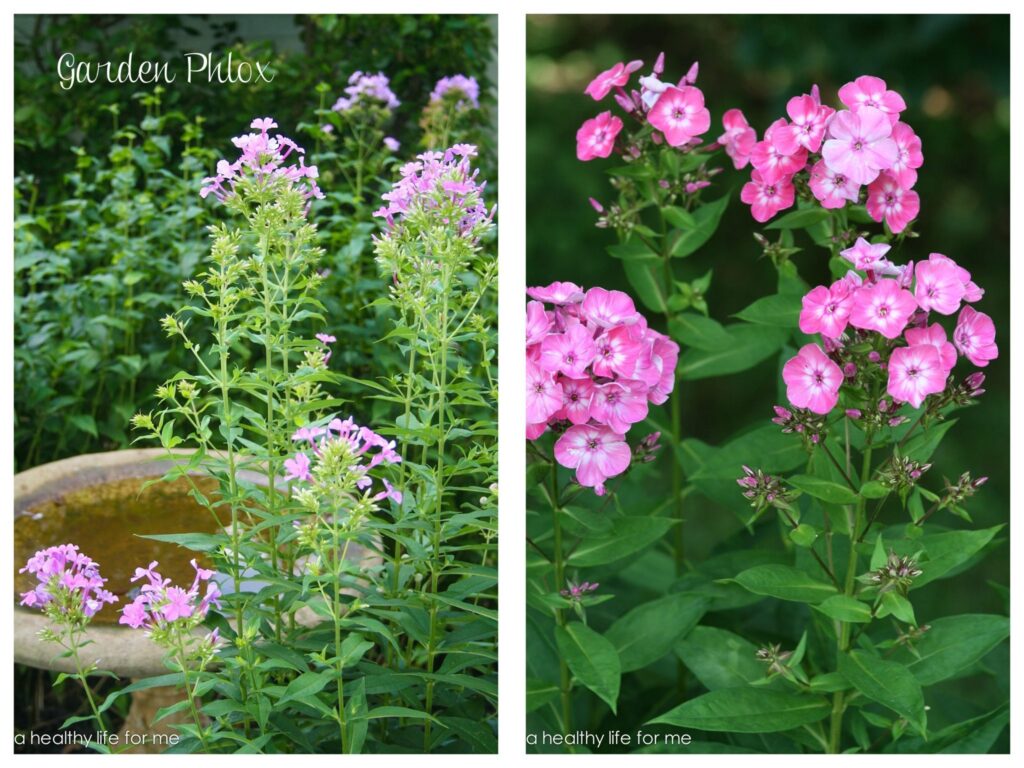
Another summer bloomer, and another of my favorites is the Garden Phlox. They are long blooming, hardy and long-lived, often fragrant and they should not need staking, in garden speak that means they are low maintenance with big reward. They come in a range of heights from 2-5′, and produce huge trumpet-shaped flower clusters in mid-late summer, in a range of colors from pure white to red, with nearly every shade of pink, lavender, salmon and purple in between. Tall Phlox prefers full sun and the more sun it receives the more blooms and faster it spreads. In the South , it performs best when afternoon shade is provided. I have Garden Phlox in both full all day sun and afternoon shade with success. You want to plant Garden Phlox in a location with moderately fertile, well-drained soils. They do not perform well in locations with poor drainage or soils that remain constantly damp.
The Garden Phlox attracts, Butterflies, Bumble bees, Hummingbirds, Honey Bees, and Hummingbird Moths. There is always a lot of activity around a cluster of Phlox, which to me makes the garden a much more interesting place to be.
One problem that I occasionally have with my Garden Phlox is Powdery Mildew. I talked about how to treat this nuisance last week in my post. Check it out here if you are experience this problem.
If you plan on adding Garden Phlox to your garden, which I highly recommend, plant in spring, spacing plants 1 to 2 feet apart, depending on the variety. Prepare the garden bed by using a garden fork or tiller to loosen the soil to a depth of 12 to 15 inches, then mix in a 2 to 4-inch layer of compost. Dig a hole twice the diameter of the pot the plant is in. Carefully remove the plant from its container and place it in the hole so the top of the root ball is level with the soil surface. Carefully fill in around the root ball and firm the soil gently. Water thoroughly.
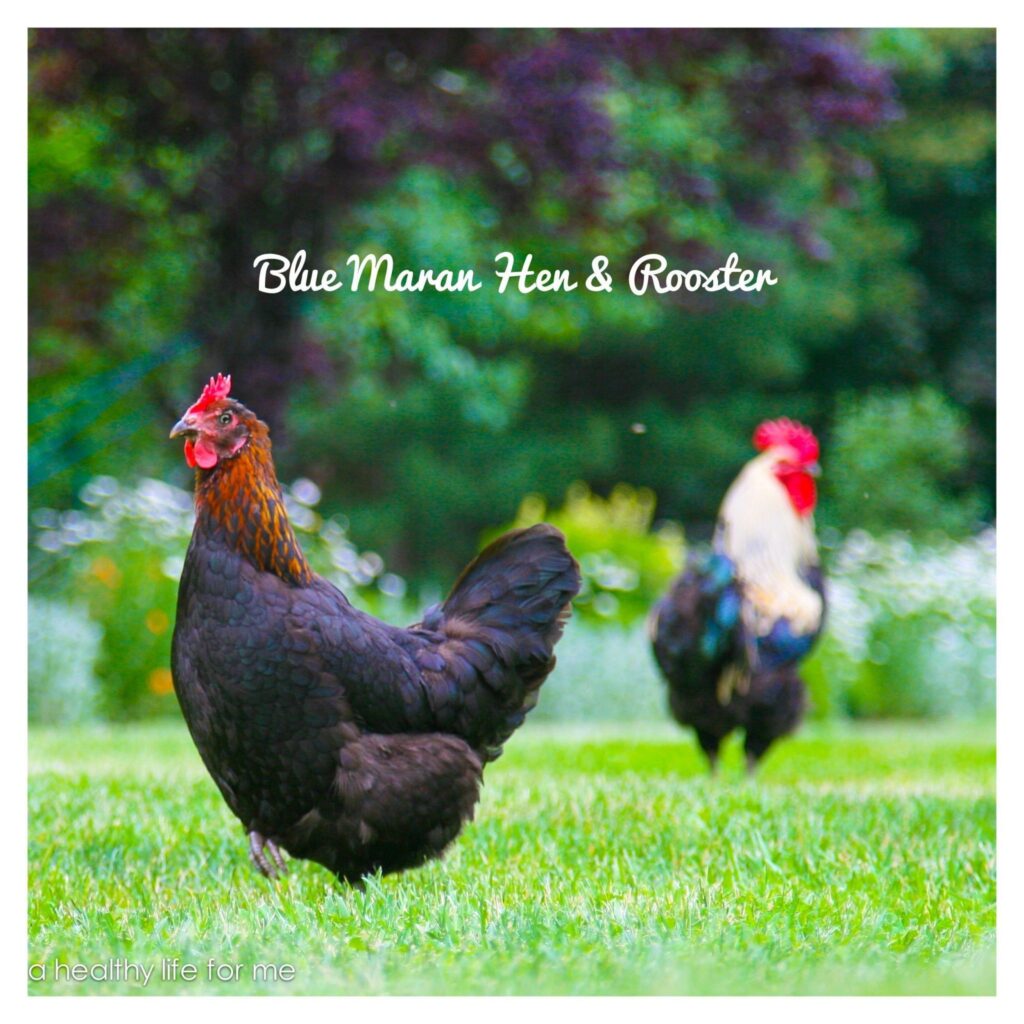
I wanted to share with you one of the breeds of chickens that I have in my flock. They are typically referred to as Blue Marans but officially they are named Marans. They are considered somewhat rare and are becoming a sought after breed mostly because of the chocolate brown eggs that they lay. They are very mellow birds and get along with the flock quite well. They originated in the French village of Marans about 240 miles southwest of Paris or 100 miles north of Bordeaux. They got the word Blue added to their name because they have black feathers that shine blue in the sun. I have two hens a rooster and if you read my blog, you will know the story of my Rooster Foghorn. You can read how I came to own Foghorn here.





I love your chickens. We had chickens or our farm when I grew up and I miss having them.
Actually Blue Marans are a Grey color, what you have looks to be Black Copper Marans. I have both and love them to death. The Blue Marans don’t lay quite as dark brown of an egg as the Black Copper Marans but it is plenty dark. I don’t mean to sound like a know it all… really, I just thought you might like to know. 🙂
Your chickens are gorgeous! Such interesting history too. Of course your glads are stunning as well.