• Home
  • About
  • Recipe Index
  • Contact
    • Email
    • Facebook
    • Google+
    • Instagram
    • Pinterest
    • RSS
    • Twitter
    • YouTube

A Healthy Life For Me

Cooking, Gardening and Living a Healthy Life

  • Recipe Index
    • Appetizers
    • Beverages & Cocktails
      • Smoothie
      • Cocktail
    • Breakfast & Brunch
    • Main Dishes
      • Beef
        • Beef {Gluten Free}
        • Beef {Paleo}
      • Bison
        • Bison {Gluten Free}
        • Bison {Paleo}
      • Chicken
        • Chicken {Gluten Free}
        • Chicken {Paleo}
      • Seafood
        • Shellfish
        • Whitefish
        • Redfish
        • Other
      • Pork
        • Pork {Gluten Free}
        • Pork {Paleo}
      • Turkey
        • Turkey {Gluten Free}
        • Turkey {Paleo}
    • Desserts
      • Bars & Brownies
      • Cookies
      • Cupcakes & Cakes
      • Pies & Tarts
    • Pasta
    • Salads
    • Side Dishes
    • Soups & Stews
  • Specialty Diets
    • Gluten Free
    • Paleo
    • Dairy Free
    • Vegetarian
  • Fitness
  • Gardening
    • My Garden
    • My Backyard chickens
    • My Backyard Honey Bees
You are here: Home / Gardening / My Garden / Planting Blackberry Bushes ‘Part 2’

Planting Blackberry Bushes ‘Part 2’

19 Aprby Amy4

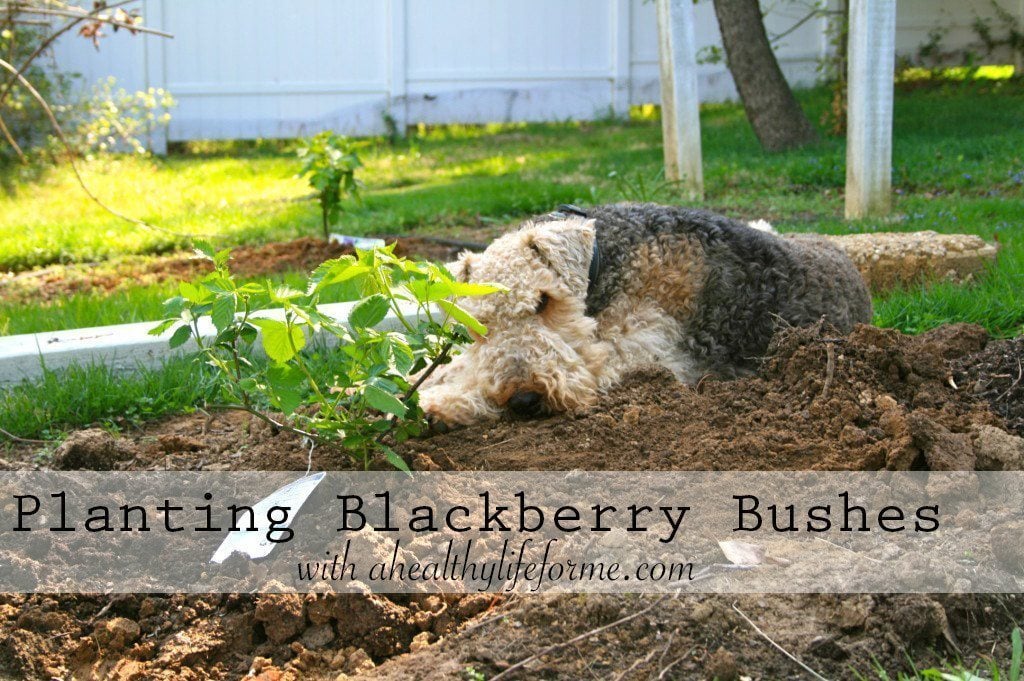
Planting Blackberry Bushes ‘Part 2’ in my backyard

Planting Blackberry Bushes part 2 with ahealthylifeforme.com

Once the planting beds were prepped, and the blackberry bushes were planted I needed to provide support for the growing baby bushes that with any luck would one day be 6′ tall.

Cue– Jim and Larry for the manual labor.  I watched, photographed and gave opinions where needed. 🙂

Because Blackberries have stiffly erect, semi-erect, or trailing stems, depending on the type and since I planted semierect thornless varieties I needed to set up a supporting and training method.

I like the Parallel Wire Method.  It gives the canes more room to grow without having to spend much time training them.

The Parallel Wire Method requires two rows of posts running along each side of the planting bed.  We spaced the poles 2’x 8′ apart along the edge of the bed using 4 x 4 x 12′ poles.  Jim had the lumberyard cut each pole down to 6′ (they cut them for free) this saved time and money.

They then dug the holes for the poles using a gas-powered post hole digger. (why do we own a gas-powered post hole digger you ask?  I was told we use it all the time…. yeah, sure we do).  Anyway, a manual post hole digger would work fine as well.

Planting Blackberry Bushes with ahealthylifeforme.com

They dug the holes 30″ deep, which is the frost line around here.  They dug the holes for the poles on the end of the bed first.  Larry mixed the Quikrete in the wheel barrel and then backfilled enough concrete into each hole to set poles.

Planting Blackberry Bushes with ahealthylifeforme.com

Planting Blackberry Bushes with ahealthylifeforme.com

They set the poles at each end of the bed first as a guide.  Jim tied a string to the poles and used a level to make sure that the string was straight.  He then set the remaining poles to the height of the string.

pretty smart, huh!  That’s my guy!

Planting Blackberry Bushes with ahealthylifeforme.com

Planting blackberry bushes how to set poles in concrete ahealthylifeforme.com

Once the cement is poured you should wait at least 24 hours before attaching the wire.

In keeping with our home and grounds we painted the poles white with an exterior house paint.  After the paint had a chance to dry, Jim screwed in  1 1/2″ long  Hook & Eye bolts 30″ from the ground to the middle of each pole on both sides, except the end poles only receive hooks on the inside.

Jim then connected the wire to the hooks by twisting the wire around itself to make a tight straight line.  He is using wire cutters to twist and then cut the wire.

How to twist wire for support on blackberry poles ahealthylifeforem.com

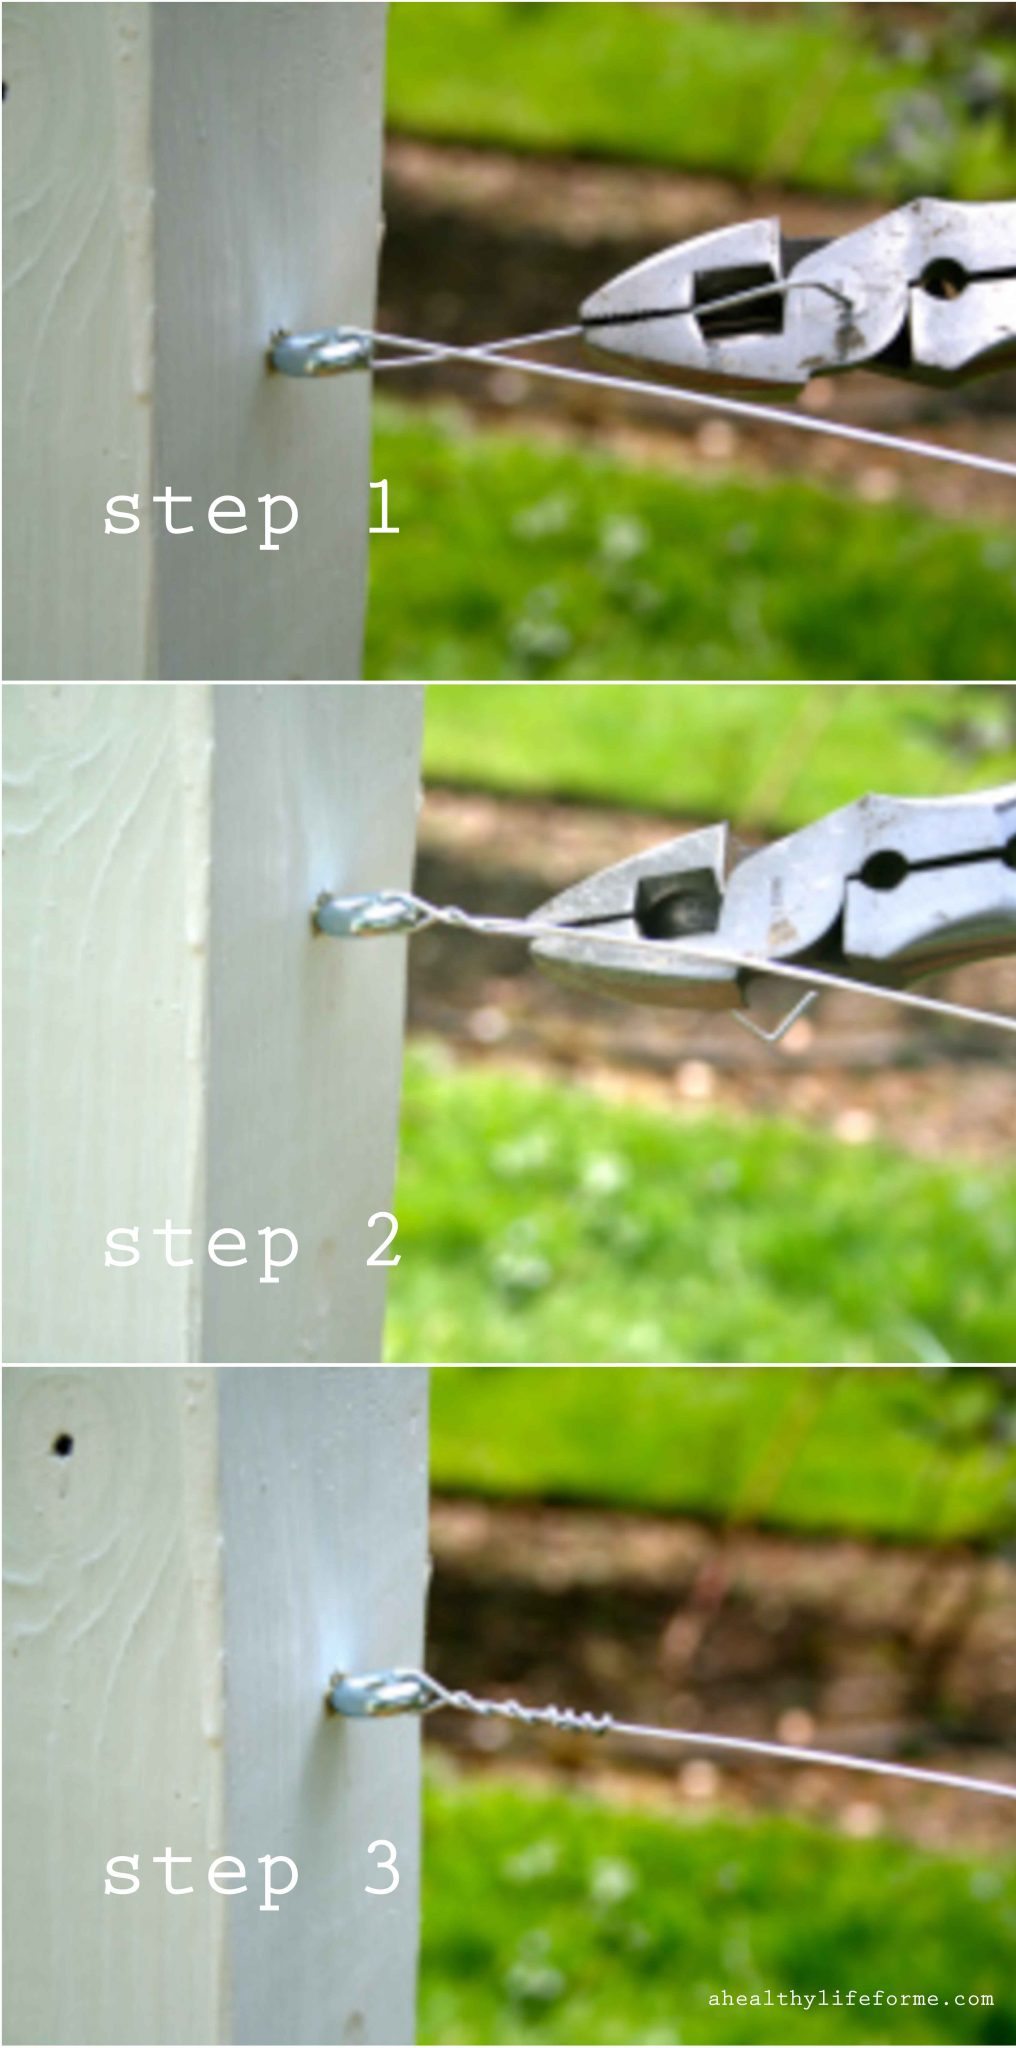
He ran the wire ‘pole to pole’ in a rectangular shape first and then he ran an ‘X’ in the middle to offer additional support.

Planting Blackberry Bushes with ahealthylifeforme.com

Eventually, we will run a second set of wires about 1′ above the current to offer additional support when the bushes get taller.

For an added architectural detail, we topped each pole with a little copper top.

Planting Blackberry Bushes with ahealthylifeforme.com

Here is the list of supplies we used.  We picked up everything at Home Depot, except that post hole digger that we use all the time.  I’m not sure where that came from. 😉

  • 4 x 4 x 12 poles
  • 1-80 pound bag of Quikrete Cement for every three poles
  • 20 gauge Wire
  • Hooks & Eye Bolts
  • Copper tops
  • Post hole digger (we used gas powered )
  • White Exterior Paint
  • Copper pole tops

In case you missed it: Planting Blackberry Bushes ‘Part 1″

Planting Blackberry Bushes with ahealthylifeforme.com

Related

You Might Also Like

  • Spring Garden
  • Gardening Tool You Will Love
  • Toad Lily – Tricyrtis
  • Frogs and Toads Great For Your Garden

Under: My Garden 4 Comments

« One Week Old Chicks
Italian Baked Parmesan Chicken Breasts »

Comments

  1. Sharon says

    April 19, 2012 at 7:48 am

    Your set-up looks beautiful! And I’m not one for power tools (I dig my garden by hand and hate the sound of lawn mowers), but your gas-powered post-hole digger has gotten my attention. Knowing how much work it is to dig post holes, I can see how that would be a mighty fine investment…

    Reply
    • AmySue says

      April 19, 2012 at 1:03 pm

      Well, according the men in my family, it is a must have. They love power tools! 🙂

      Reply
  2. JT says

    April 23, 2012 at 6:20 pm

    Looks great and who doesnt like power tools

    Reply
    • AmySue says

      April 23, 2012 at 9:04 pm

      Thank you!

      Reply

Leave a Reply Cancel reply

This site uses Akismet to reduce spam. Learn how your comment data is processed.

Hi There!

Hi, I am Amy, food photographer, recipe developer, food lover, organic garden maven, fitness nut and lover of Airedales. Please stay a while and explore. More >>

  • gluten free
  • paleo
  • menu plan
  • fitness

Subscribe

Never miss a recipe! Subscribe to have new recipes and updates delivered straight to your inbox!

facebook instagram pinterest

Categories

Archives

Seasonal

Seasonal Eats

Green Bean Turkey Club Sandwich made with Hormel Natural Choice Oven Roasted Deli Turkey | ahealthylifeforme.com

Green Bean Turkey Club Sandwich

This Potato Bean Turkey Soup is the perfect way to use leftover turkey. A low calorie, high protein recipe that is gluten-free and can be made dairy free | ahealthylifeforme.com

Potato Bean Turkey Soup {gluten free}

Turkey Black Bean Burger Recipe Healthy | ahealthylifeforme.com

Turkey Black Bean Burgers

Gluten Free

Turkey Chili

Turkey Caprese Sandwich made with Hormel Natural Choice Smoked Deli Turkey | ahealthylifeforme.com

Turkey Caprese Panini

Copyright © 2021 · Blogger Boutique

Copyright © 2021 · Healthy Theme on Genesis Framework · WordPress · Log in